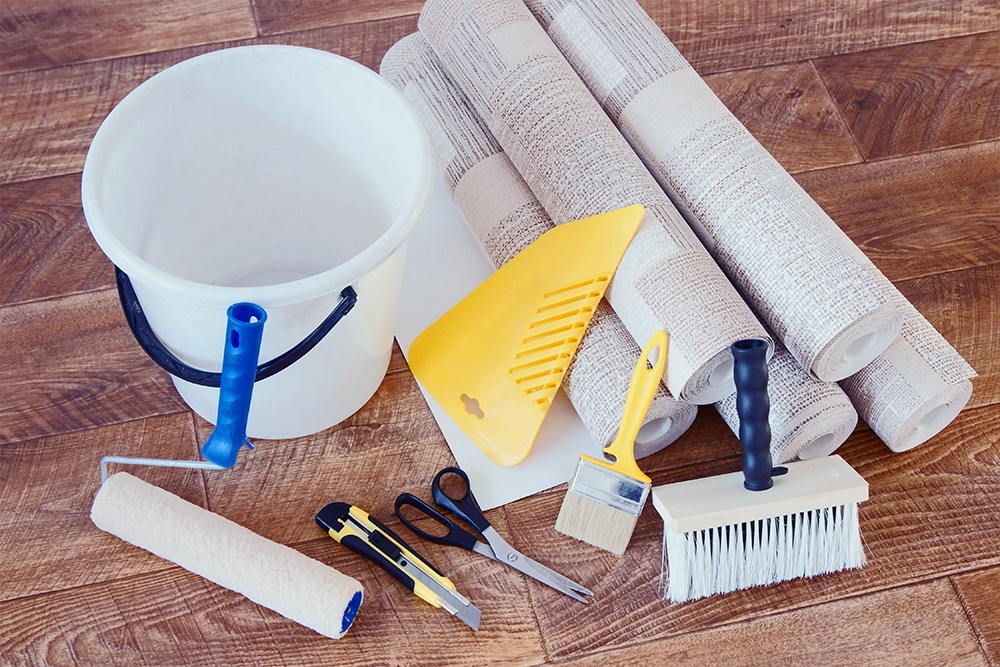
Whilst having a paintbrush, a roller and some masking tape is a good start for a decorating tool kit, there are a few more items you could add to make sure your decorating experience goes as smooth as possible.
Just by simply adding a few cheap tools, you could save yourself a lot of time and effort and end up with a much more professional looking finish.
For Painting
- Paintbrushes
- Paint rollers
- Paint tray
- Dust sheets
- Masking/decorators tape
- Step ladder
- Filler and filling knife
- Sandpaper
- Paint conditioner
For Wallpapering
- Wallpaper scraper
- Wallpaper pasting table
- Wallpaper paste brush
- Water bucket and a soft sponge
- Small wallpaper roller
- Scissors
- Stanley knife
- Plumb line, spirit level and pencil
Painting Tools:
Paintbrushes
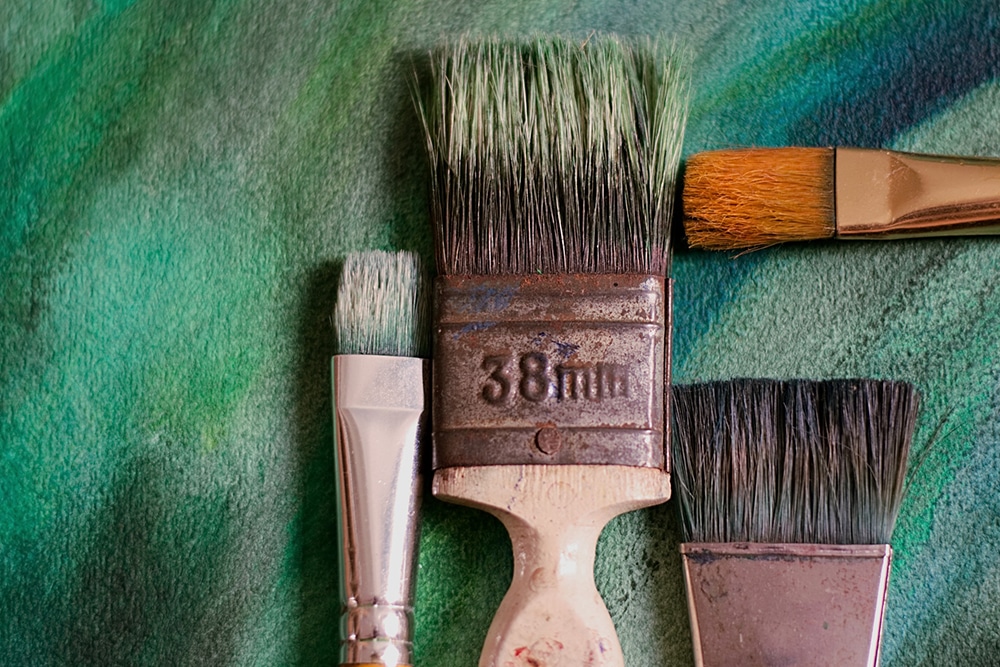
To start with the basics, we recommend you have at least 3 brushes in your painting tool kit:
- Large brush (around 4-6 inches) for large areas
- Medium brush (around 2-3 inches) for areas such as door edges and skirting boards
- Small brush (around 1/2 – 1 inch) for cutting in
Where possible, we also recommend using a high-quality brush over cheap brushes. This is because cheap brushes tend to have a lot of bristles fall out when painting which can be time consuming and rather annoying to have to keep plucking out from your surfaces.
However, if you can’t afford a more premium brush, our top tip is to not overload the brush with paint and to apply the paint as smoothly and gently as you can. This will help prevent bristle fallout.
Paint Rollers
When painting a large flat surface you might instead decide to use a roller instead of a brush. If you need to paint a ceiling, we recommend using a long pole attachment to not only help with the painting itself but also help save your back!
Having a high-quality roller is in the same wheelhouse as having a high-quality paintbrush. We recommend you purchase as much higher quality as your budget will allow. This is because cheaper rollers tend to not hold paint very evenly and when you go to roll it on a surface, you will find the paint being distributed unevenly.
This uneven deposit of paint will make it hard to move the paint around which will result in a patchy or uneven finish.
Budget rollers are usually only able to be used once. However, high-quality rollers can also easily be re-used which will save you money in the long run.
Paint tray
There’s not too much to say when it comes to paint trays and so only a couple of things to keep in mind:
- Make sure that the tray will be able to accommodate the size of roller you are using
- Try to get a tray that is deep and holds a lot of paint
The first is most important if you are using a longer than standard roller as having to dip only one end into the paint will not result in a good finish. The second isn’t necessarily ‘a must have’ however it will save you time as you won’t have to keep topping it up.
Dust sheets
There is an enormous amount of different dust sheets available including plastic, cotton and paper. Depending on certain aspects will usually depend on what you will need. For example, you might choose to use one over another depending on hardwood, carpet, stairs, staircases etc.
You may also find in some cases that it is simply not possible to remove all furniture from the room you need to work in so this needs to be taken into consideration as well.
Really it comes down to budget and personal taste. Just remember that whichever you decide to use, make sure you tape or securely fasten the sheeting down so there’s no trips or falls!
Masking tape/decorators tape
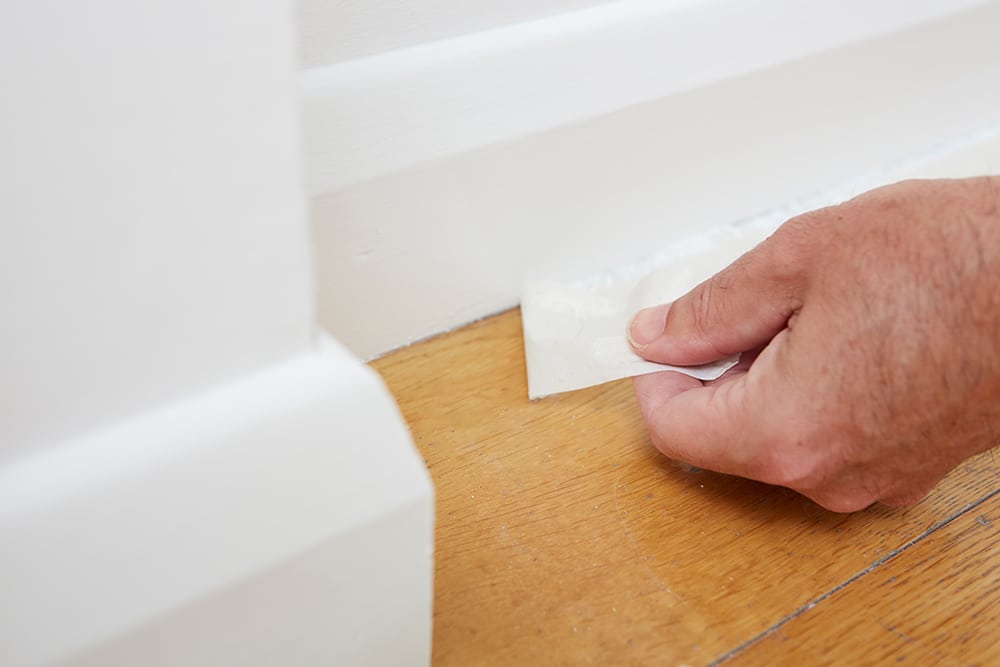
For the vast majority of people, using masking/decorators tape is a must have in their decorating tool kit. It makes for painting around intricate areas such as skirting boards and door frames much quicker and easier and will allow for a much more professional looking finish.
Likewise to brushes and rollers we recommend using a premium tape. This is because budget tapes tend to use a poor adhesive which can be left behind on the surfaces upon removal. The paper part of the tape is usually also weak and of poor quality and can usually rip easily when being removed.
We recommend you remove the tape slowly when the paint is almost dry but still tacky. Removing the tape whilst the paint is still wet can cause the paint to bleed out or even drip. Leaving the tape on the surface until the paint has dried can also be bad as it might take some paint with it.
Step ladder
This is also an important tool for when wallpapering. Using a step ladder or just simply a stool when trying to reach the very tops of your walls is a must. Overreaching can cause injury and it’s unlikely you will be able to get a smooth and professional looking finish on your tiptoes!
There is a huge variety of different steps and ladders out there. If you are just a casual D.I.Y-er you might want to opt for a cheaper simpler step. If you plan on using it a lot perhaps you should consider getting a step ladder that can be changed into multiple positions that can be handy for a wide variety of tasks.
Filler and filling knife
Preparation is the vital key to a professional-looking finish.
We highly recommend filling in any holes or sanding out any bumps on your surfaces before painting. There are a huge variety of fillers available suitable for different surfaces, hole depth and areas of the home, so make sure you get the right one for the job.
We highly recommend purchasing a filling knife too. They can be very affordable and will help you achieve a much smoother finish the first time around.
Sandpaper
If you have applied filler, or just have some bumpy imperfections on your surfaces, you will want to use sandpaper to smooth it out before application of the paint.
A common misconception is that paint will be thick enough to cover over any imperfections, but this is not the case more often than not!
We recommend you have a few different grits of sandpaper in your arsenal. Having a few between 100 and 150 grit should suffice. Remember to start on the finest grit first and then gradually work your way up to the coarser paper should you require it. The last thing you want is to sand too much and create a hole again!
Paint conditioner/s
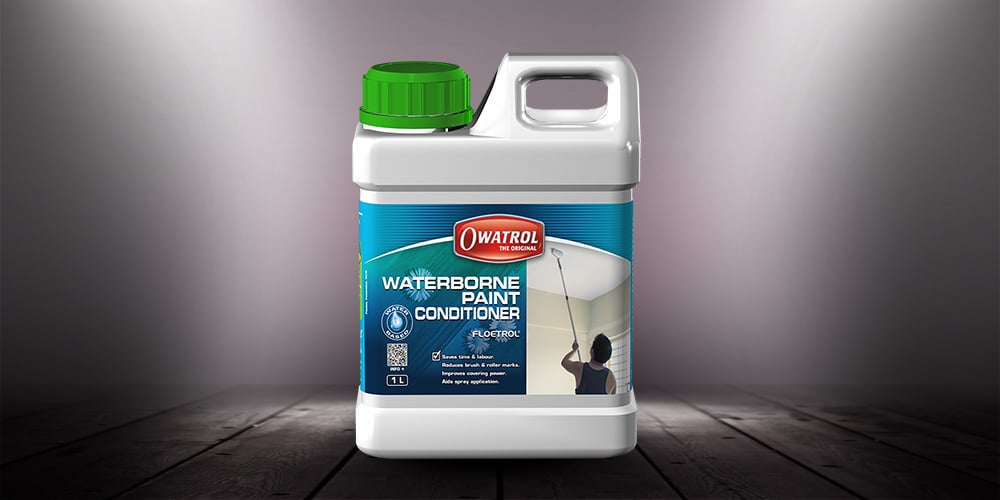
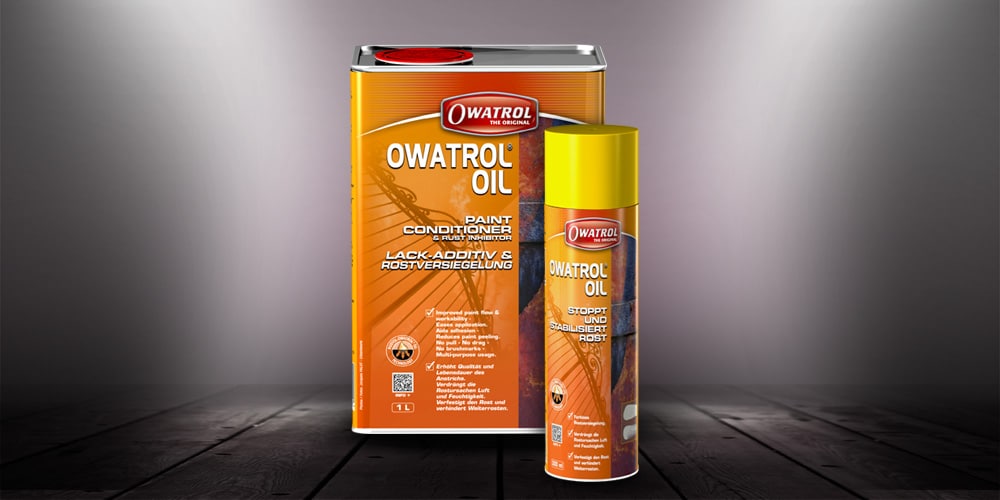
If you have never used a paint conditioner in your paint this is a game changer. They improve the flow of the paint, ease application and eliminate brush and roller marks. All while maintaining the inherent quality and characteristics of the paint.
We have two different paint conditioners available, one for water-based paints and one for oil-based paints. Floetrol is a paint conditioner to be used in water-based paints whereas Owatrol Oil is a paint conditioner to be used on Oil-based paints.
Simply add the necessary amount to your paint and apply it as normal!
Wallpapering tools:
Wallpaper scraper
A wallpaper scraper is used for the removal of the previous wallpaper from the wall. Most people will use one alongside a wallpaper steam stripper.
They are available in a few sizes so make sure you get one that is suitable for your particular project.
Wallpaper pasting table
If instead of removing wallpaper you are applying it, you might want to use a wallpaper pasting table. These tables are different to a standard table in that they are very long and thin.
Most commonly made from wood but plastic ones are available. They are usually 2 or 3 way folding and can become surprisingly small once folded down.
Wallpaper paste brush
We highly recommend using a specific wallpaper paste brush instead of a large standard brush.
The consistency of wallpaper paste is very different to paint and so filling the brush and moving it over the paper will be a lot easier with a specifically made brush.
Water bucket and a soft sponge
Having a bucket of fresh clean water on standby when wallpapering can be very handy. This is especially so if you need to clean up any spills quickly.
We also recommend using a well wrung out sponge to remove any excess wallpaper paste once it has been applied to the wall. Leaving the excess paste on the walls can result in a shiny/white coloured finish which can be easily avoided. Just make sure your sponge isn’t too wet!
Small wallpaper roller
These small, hard plastic rollers and extremely handy when it comes to removing bubbles from under your wallpaper.
We recommend you gently use it over the whole area to not only remove bubbles but to help ensure a strong adhesion on the paste. You could then also use a clean wallpapering brush over the sure to make sure it is as smooth as possible.
Scissors
We recommend using wallpaper specific scissors for cutting your paper. This is because they are 10-12 inches in length and so the paper can be cut in as fewer ‘cuts’ as possible. This allows for a small margin of error.
It may also be beneficial to you to have some smaller scissors for ease of cutting paper around fiddly areas such as plug sockets.
Stanley Knife
A sharp knife in your decorating tool kit is a handy piece of equipment. The best use for one is likely for cutting wallpaper when you want to butt it up against another wall. This is because cutting lengthways down wallpaper isn’t that easy – even with the proper scissors!
Plumb line, spirit level and a pencil
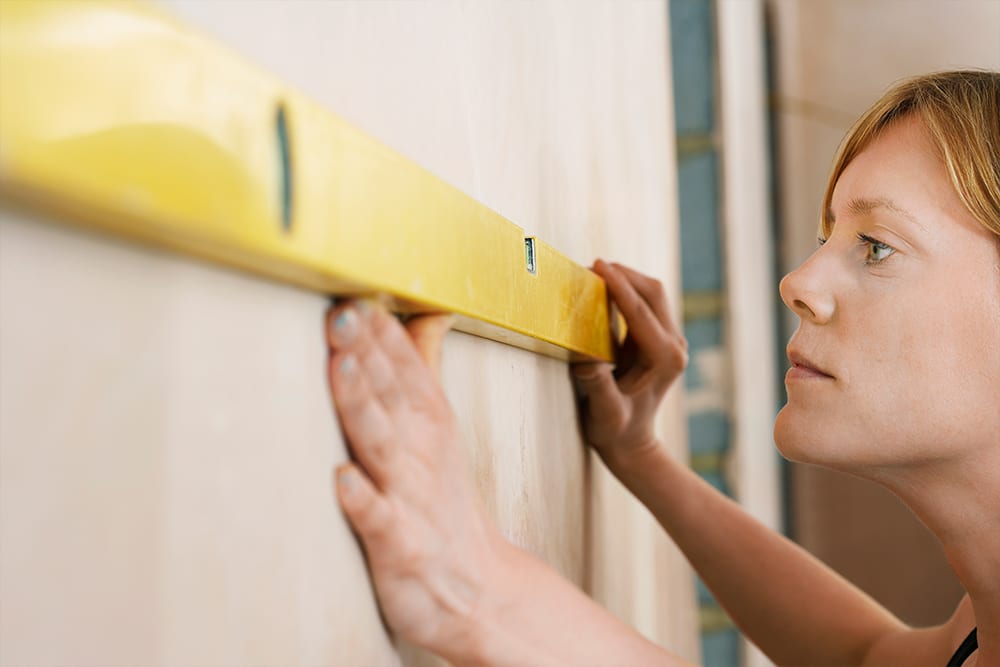
The combination of using a plumb line and spirit level will help to ensure you are hanging your wallpaper perfectly straight.
Some decorators will start from the centre of the wall and work out when applying wallpaper with a large pattern, or to specific rooms/areas. For example, if you have two windows on a wall you might want to start between the two so that the paper is symmetrical between the windows.
The same applies to a room that has a fireplace, for example. You might want the paper to sit symmetrically over the fireplace.
If you are applying a single colour or a small pattern this isn’t usually required and applying from one side to the other is fine.
So there you have it. The Owatrol essential painting and decorating tool list!
If you have any other tips, tricks or advice, please feel free to share them in the comments below. We love hearing from you!
To keep up will all things Owatrol, why not follow us on social media? You can find us on Facebook and Instagram at @owatrolIreland or #owatrolireland

