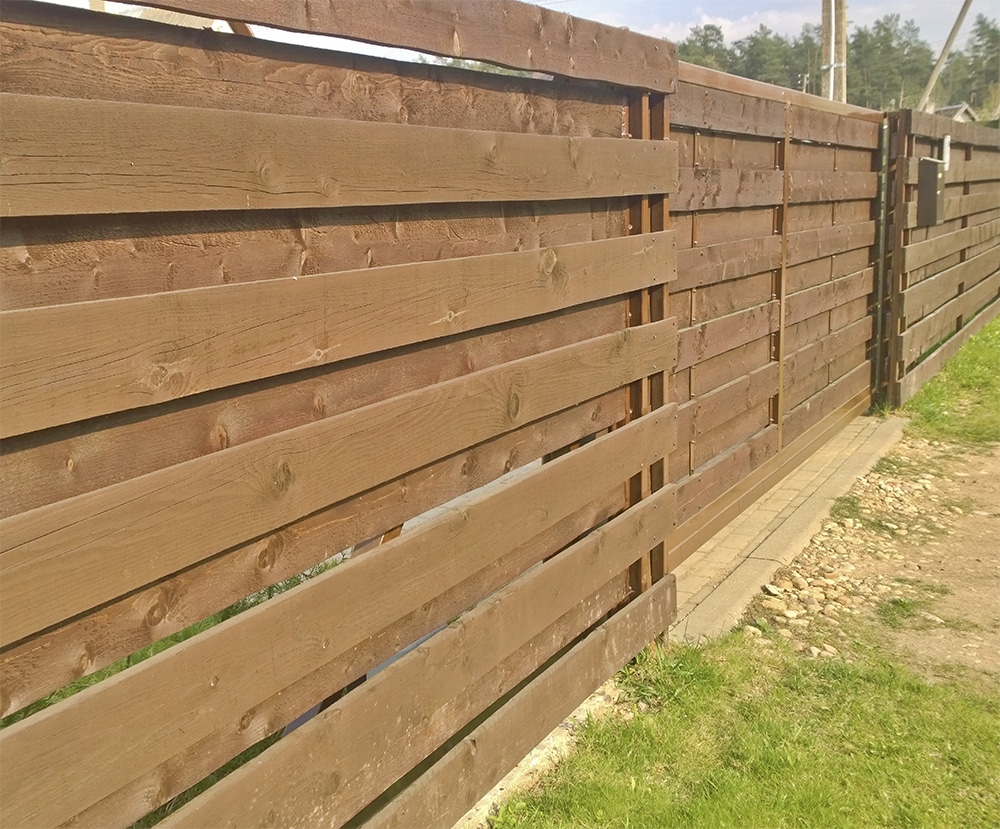
After the destructive storms of the past few months, there’s a good chance your fences aren’t in the best condition. You may be able to do a quick fix but in some cases, you might need a whole new fence. Today we are going to be guiding you through how you can build your own slatted fence.
Slatted fences can be made out of both composite or soft/hardwood. Composite wood is becoming much more popular, mostly due to its durability and eco friendliness. The majority of companies will use recycled products such as bottles for the plastic part of the composition. Doing so allows these companies to be carbon neutral or in some cases, even carbon negative.
To learn more about the different types of wood including composite wood, take a look at our previous blog post.
Regardless of the type of wood you use, we always recommend you finish and protect with a high quality wood oil.
Materials & tools needed
- 8 foot posts
- 6 or 12 foot wooden slats
- 40mm wood screws
- Spade/Post hole digger
- Spirit level
- String line
- Screwdriver (electric would be ideal)
- Post mix
- Water/hose
Step 1: Plan & prepare the area
The very first step is to prep the area where you will be installing your fencing in. For starters, you will want to make sure that the area is clear and level all around. This is a very important step that should not be dismissed as having the fence sitting right down into the ground will cause the wood to become moist. This will eventually cause damage and reduce the lifespan of the wood.
Now the area is clear you will need to work out how many posts you will require. The stand height and width of a garden fence are 6ft high and 6ft wide. You can get 5ft options if you prefer. We recommend you measure the area the fence will be in and calculate how many posts you require.
Once you know how many posts you need you can then work out how many slats you require. This number will vary depending on how wide you want your slats to be.
Step 2: Digging post holes
Now you have your plan, your tools and your materials you can begin work.
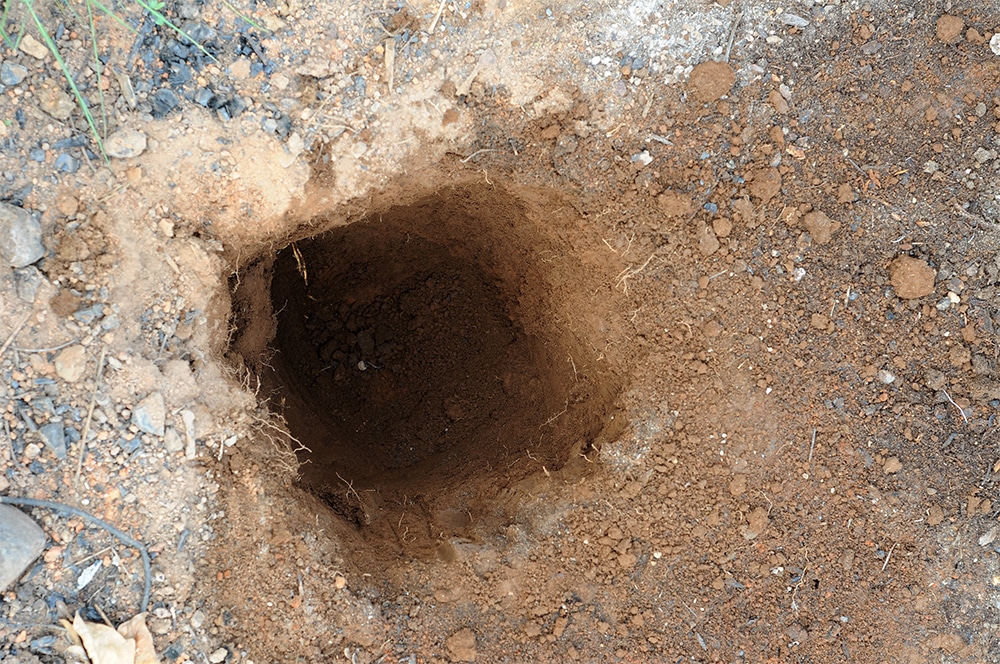
Using a spade (or a post hold digger if you have one) dig out your post holes. If you are using a spade, the hole should be the width of the spade all around and approximately 2 foot deep. Try not to make the holes too big – not only is it hard work but you will also require more post mix.
Step 3: Setting the fence posts
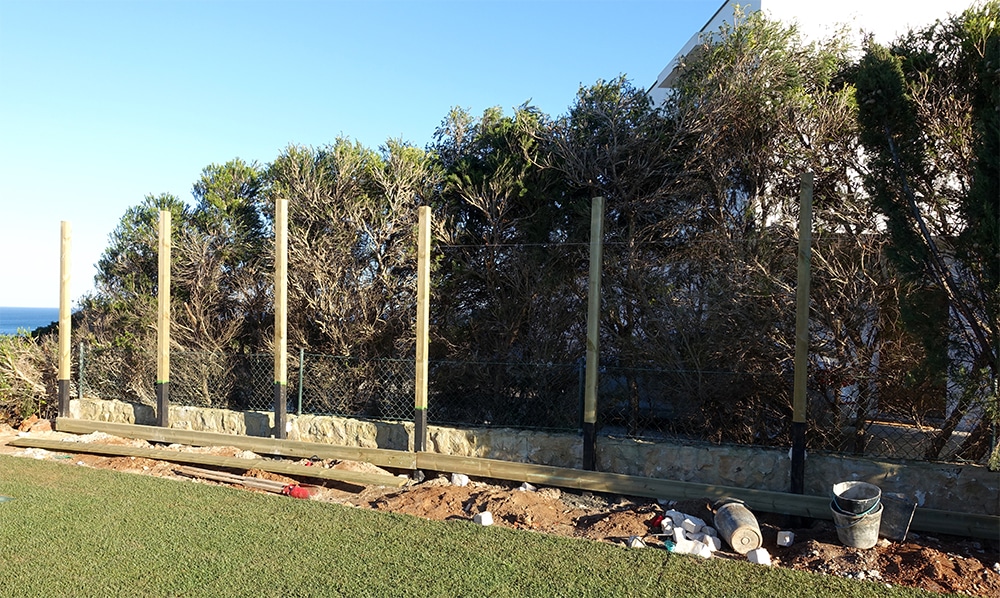
Now that the post holes are all ready and dugout, you can place your first post into the hole and set it. We highly recommend placing one of the corner posts first as you will need to use the string line between that post and all the others.
To set the post, place it into the hole and empty a bag of post mix all around the post. Have your spirit level to hand and add enough water to the mix as per the instructions. Use a stick or something similar to make sure that the mix is evenly spread around the post.
After approximately 1 minute you will want to use your spirit level to start making the final adjustments and levelling the post out. Make sure that the post is as level as possible on the sides as well as on the top before it sets. Remember, this will not take long at all, especially in warm weather so make sure you work fast.
Do the exact same thing again for the post in the opposite corner.
After they are both done and set, attach a string line from one post to another. Use this, as well as your spirit level, to align all of the remaining fence posts between them.
Repeat these steps for every side.
Step 4: Attaching the slats
If you have so far been working alone on this project, we highly recommend you now get a hand from someone. Beginning at the top, place the first slat flush to one post end. Then, using a level check the slat is level. After making any adjustments to ensure it is level, screw the slat into the post. If you are using wider slats, you can opt to use two screws spaced out evenly for extra support.
If instead you are using 12 foot slats to cover over 3 posts at once, be sure to remember to screw into the central post too.
Then, simply continue this all around the posts and you have a completed slatted fence!
Step 5: Optional extra – double sided slatted fence
Although single sided slatted fencing is aesthetically pleasing, they’re sadly not so great at providing privacy. This may not be a problem for you if your garden backs onto a field for example, but if that’s not the case, you could also slat the other side of the fence.
If this is something you would like to do, you will first need some extra timber. 40mm x 40mm is a good size to offer the best support whilst also being a little more discreet. We also recommend using slats that are around 10-20cm shorter than the posts.
Hold the piece of timber up against the post and attach it in place with 60mm screws. Do try to not get too carried away as using too many screws could cause clashing issues with the screws you will be using for the new set of slats.
If necessary, cut the slats to the length between the new internal posts. Finally, starting from the top, screw the second set of slats into position, making sure to fill the spaces where the slats are missing on the other side.
We hope you found this guide on how to build a slatted fence interesting.
If you have any other advice or top tips, please feel free to leave them in the comments below. We love hearing from you!
You can also follow us on Facebook & Instagram at @OwatrolIreland or find us under the hashtag #OwatrolIreland


