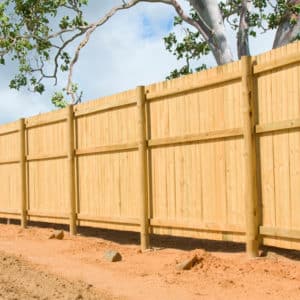
Have you decided on which type of fencing you want and are now looking at how to go about installing them? Then this is the post for you!
Although some may think that it is essentially; ‘dig a hole and put the fence post in’ – it is a little bit more complex than that! Properly and safely installing your fence post varies from which type of post you are using and the method in which you intend to use.
We explain the most common ways below.
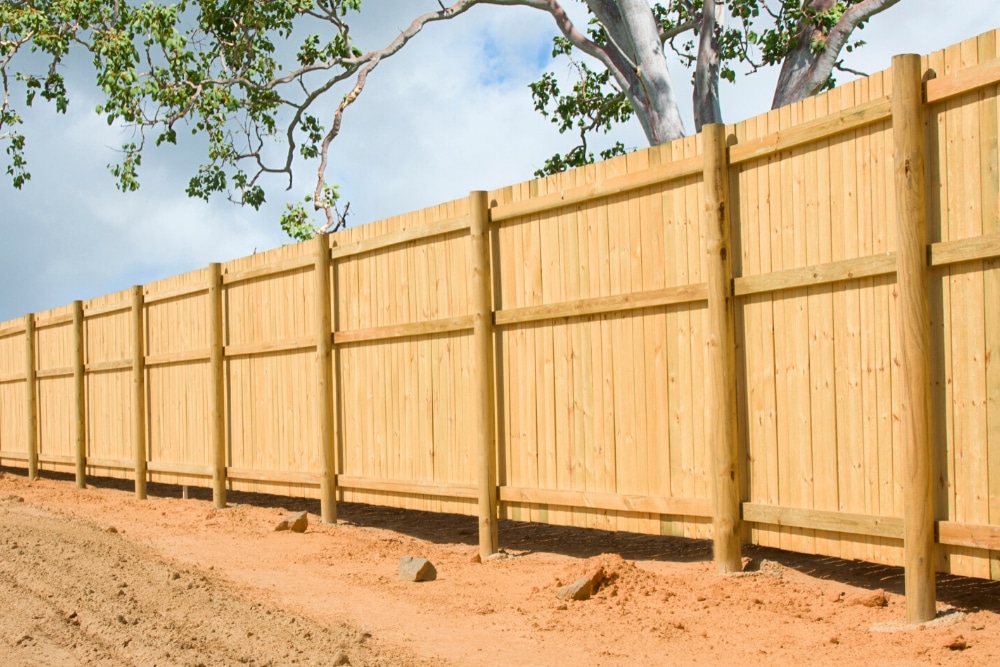
The top most important thing that you need to know when erecting your fence posts is that around 1/3 of the post needs to be buried into the ground. This is vital to make sure that the post has enough strength and stability to ensure the longevity of your fence.
When placing fence posts straight into the ground, you will want to start by deciding where your first and last post will be. Next, use stakes with a string line attached in which to follow to help you install the middle fence posts in a nice straight line.
Erecting wooden fence posts
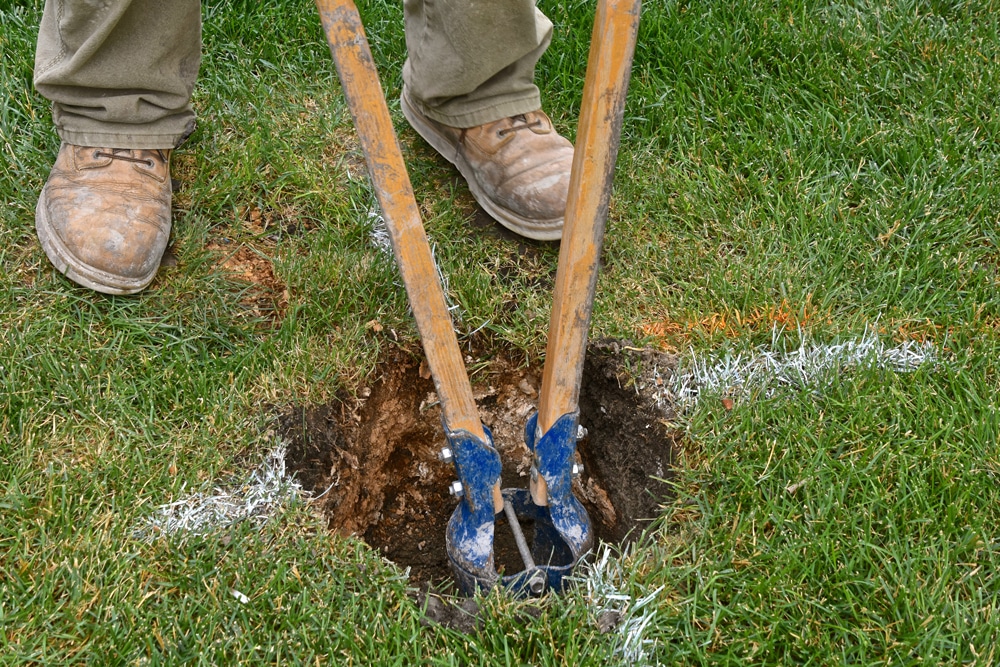
The best tool for this job is a fence post digger. It’s a tool that looks like two narrow shovels that face inward to each other. This helps with creating a hole that is deep but not too wide. You ideally don’t want to dig a hole that is too wide because it can be difficult to get all that loose soil back in and stabilise the post.
This is easier with another person, but once you have dug out your hole, place the post into and and use a spirit level to check and see if it is level. You can use a mallet to knock the post to make it more level if needs be.
Next, you are ready to start popping the soil back into the hole. We recommend you do this slowly and just add a small amount at a time and be sure to firmly pat the soil down to keep the post nice and secure. Continue to do this until you have replaced all the soil and you are done installing the post!
Erecting wooden fence posts using metal spikes
Whilst installing fence posts with the use of metal spikes is an additional expense, some may consider it to be a much more time effective and altogether easier way of installing wooden fence posts.
Be sure to properly research which spikes are suitable for the size and length of the posts you are using. If you can get your hands on the equipment to test that there are no pipes or electric cables where you plan on installing your fence, we highly recommend that you do.
Once you have planned everything out and you have the suitable spikes to use, you are now ready to go!
Push your first one into the ground and then drive it in with a sledgehammer. If you would like to make this job a little easier and protect the top of the spike from becoming misshapen, you could use a spike fixing tool. Be aware that this will add to the overall costs which may be something you are looking to avoid – especially if the fence is already very long!
Keep hammering away until the square base of the spike is level to the ground. Regularly check to see that it is all going in straight with the use of a spirit level. Once you have the spike in and set where you want it to be, you can continue to do the rest. Or, if you prefer, you could instead then install the fence panel and go along post by post.
Installing fence posts with concrete
This is a good method for installation of concrete or wood fence posts. However, it should be noted that it is quite difficult to remove wooden fence posts that have been set in concrete.
You can either buy ready mixed bags of concrete from most DIY stores or some garden centres. You can also make your own mix from sand, gravel and concrete.
To begin you will need to dig out your holes for the fence posts as per the ready mixed instructions. Most will recommend that you dig a hole at least 60cm deep and around 3 times as wide as the fence post.
Once your hole is ready, pop your post inside it and have someone hold it in place (or get bricks/stones if you are working alone). Place your spirit level on the top to check that it is level and once you are happy, begin to pour in the concrete as per the instructions. Some brands will require you to fill the hole with water first so be sure to ready the packet carefully.
Remember to leave a small gap between the top of the concrete and the ground level if you plan on covering it will soil and/or grass. You will find that concrete sets pretty quickly so you will want to work fast. If you are using wooden posts, we recommend that you smooth the concrete surface out so that it tils away from the post allowing rain to pour away and not pool which can cause the wood to rot.
Once this has all been done, we recommend that you use wooden battens on each side of the post to ensure it sets properly whilst drying. Make sure that the concrete has fully hardened before attaching the fence panels and/or gravel boards.
Protecting your posts
If you have decided to use wooden fence posts then you should highly consider using a high-quality wood protection to help prevent damage from the rain and UV rays. Whilst there are a wide range of products on the market, we recommend using using a wood protector by Owatrol for a superior finish and long-lasting protection.
Our most popular choices for exterior wood protection are Textrol wood oil and Deks Olje D1.
We hope you found this post helpful. Please feel free to leave any tips, tricks or advice you have for others in the comment section below.
If you share your project on Facebook or Instagram please feel free to tag us @owatrolIreland or use #owatrolIreland
About Owatrol Team
Our team are ready and willing to support you with your requirements whether it is protecting your newly laid deck or renovating a luxury yacht, whatever the application Owatrol has the solution you are looking for.