

One of the most common questions we get asked about is how to strip paint from wood. So we thought we would create a post with everything you will need to know.
Deciding on what to use to remove the paint
The three ways you can remove paint are as follows
Deciding on which one you should use depends on a few things as each have good and bad qualities. One may be quicker to work where as another may be cheaper. Read on to learn about each way to help you make the best decision for your project.
Sanding
Sanding is very common practise to remove paint and can be an excellent solution if done correctly. You can either do it by hand, or to make things quicker and easier, you can use an electric sander.
Sanding by hand
If you are only removing a single layer of paint then sanding by hand is usually fine. You have the best control this way and it shouldn’t take too long to get the job done.
If this is the way you have chosen to sand then you will need three types of paper. One coarse, one medium and then a fine grade. Although it may seem like that means you have to do the job three times, it actually means you will be doing it safely and effectively.
If you chose to use only one type of paper, you will end up with two situations. One, where you use a paper coarseness that is too high, resulting in damage to the wood below the paint or two, where you use a very fine paper where you will find you will be sanding for a very long time and getting no results.
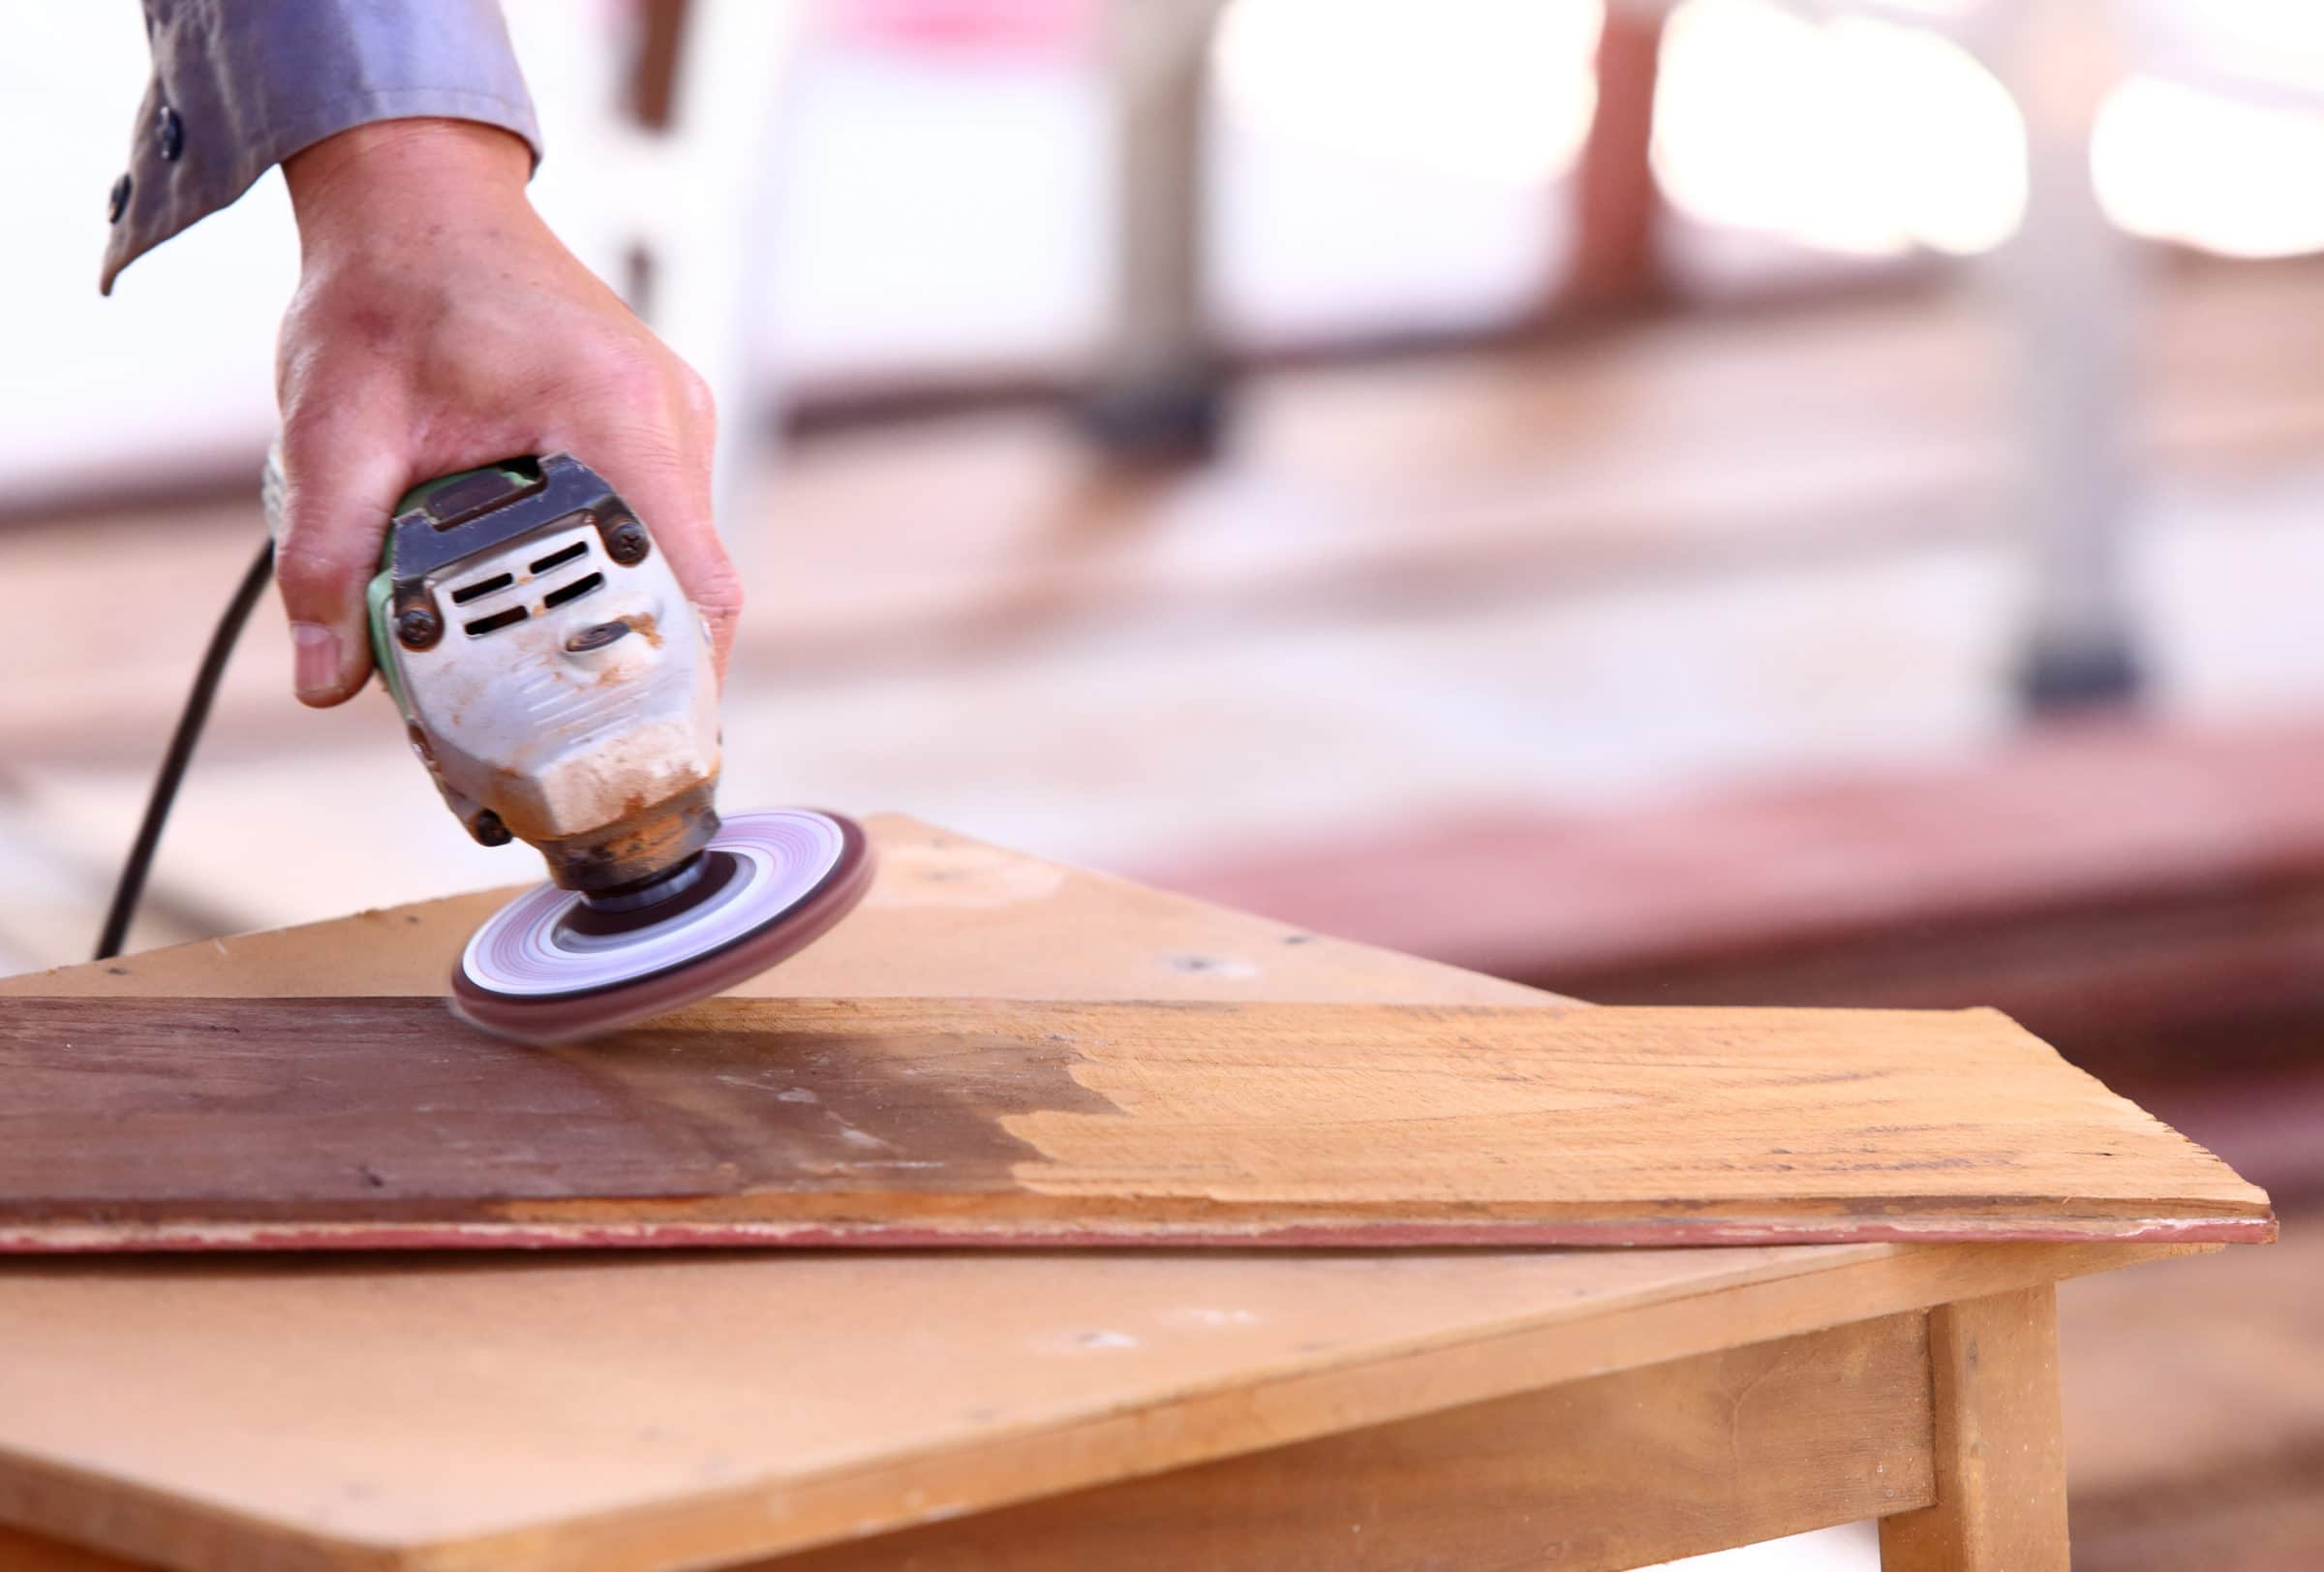
Sanding with an electric sander
As you may have guessed, using an electric sander is a lot quicker and easier. However, it should be noted that it is not a catchall and still has flaws.
Using an electric sander is very efficient for medium + sized projects, especially so on flat surfaces. You may have seen sanding pieces and attachments in various shapes and sizes, which although is very handy for a professional, it can be very expensive for a DIY-er.
A gentle hand is needed to safely use an electric sander as it is easy to push down too hard resulting in uneven surfaces and potentially gouges in the wood. Obviously this would not be ideal as not only is it another cost to correct, but it can be very time consuming.
With all that being said, if this is how you would prefer to sand then we recommend you start off slow and apply as little pressure as possible. If you have a spare piece of wood lying around, perhaps practice using it on that first so you can see just how effective it is before taking the plunge.
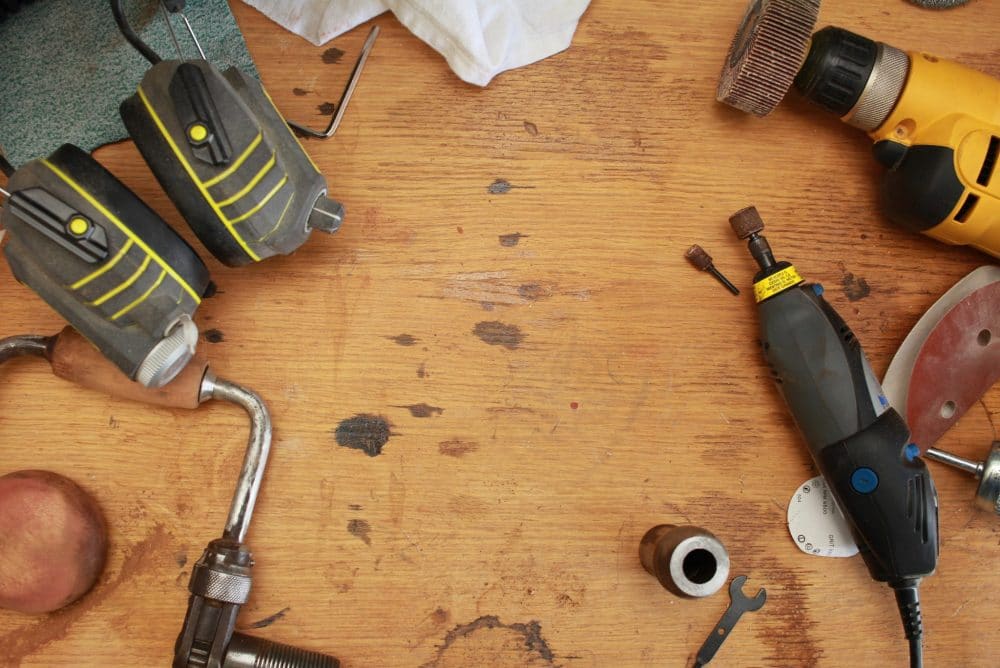
Tools & Protection
Before you begin sanding of any type, you will want to have a few tools to hand to be the most effective and protected.
Test for lead paint
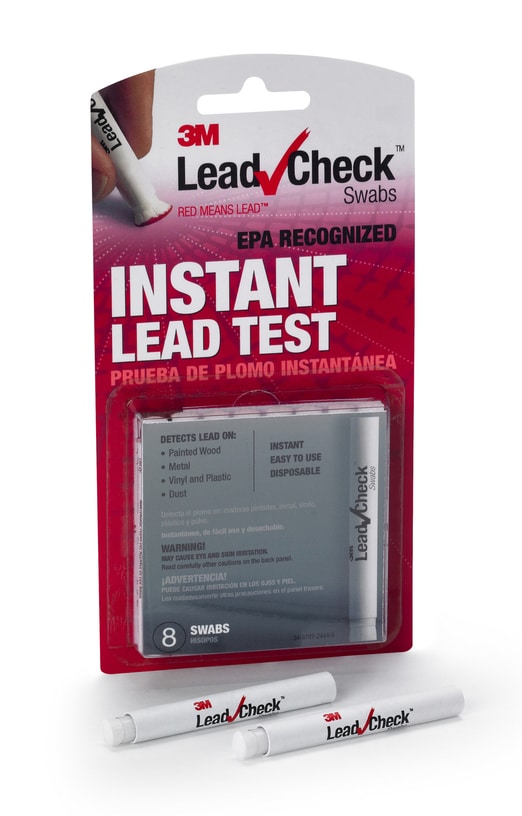
You might be surprised to learn that lead paint was used up until as late as 1960. Therefore, if you are planning to remove paint form a surface that potentially predates this you should conduct a lead paint test.
It is very quick and easy to do and can cost as little as £10. You can find then online and in most DIYs stores.
Remember, a lot of dust is created when sanding and inhaling lead paint dust is hazardous to health. This is especially true for young children as well as pregnant women. It’s always better to be safe than sorry!
An electric sander
The electric sander market is huge! There are so many different types and sizes that we highly recommend doing some thorough research to see which is best for you and your project. Also don’t forget to purchase a variety of coarseness of sand paper.
Dust containment attachment
If your budget allows for it, we recommend purchasing an attachment for your sander to collect all of that pesky dust! Where possible, we also recommend sanding outside, regardless if you have an attachment or not.
If it is not possible to take your project outside to be sanded, then we recommend covering any furnishings and putting down a dust sheet. This will contain the dust neatly and you can then once you are finished, you can simply fold in the corners, tape it down and dispose of it.
Protective glasses, mask, coveralls etc.
As you may have guessed, having dust filled room will cause irritation to your eyes, lungs and even your skin. To reduce the chances of anything serious, we recommend purchasing some protective face wear, a dust mask and some coveralls – or at east wear a long-sleeved shirt. All of these products are affordable and readily available from all DIY stores and online.
Heat gun/blow torch

Using these methods is a very popular way of removing paint, especially gloss paint from skirting boards and door frames.
Again, using these tools can be efficient but there are also some cons that make using this method risky.
Heat gun
Generally speaking, a heat gun will have either one or two temperature settings. Adjusting the shape or size of the airflow can usually be done with different nozzle attachments.
Just as with using a sander, it is a good idea to get used to the feel of a heat gun to understand exactly how it works. If possible, we highly recommend practising on some scrap wood.
There are a few things you should do to get the best result. Do not leave the heat gun in one area for too long and be sure that you are keeping the same distance away from the entire surface.
At a safe distance, slowly move the heat gun back and forth over a small area of the wood. You will see the paint start to wrinkle and bubble. Once you see this, the paint has now ‘melted’ enough for you to scrape it off the wood.
If you find that the paint is sticky or gummy in texture and is difficult to scrape off, it has simply not ‘melted’ enough. Place the heat gun back over the area, wait until the paint wrinkles and begins to bubble, then scrape it away again.
Blowtorch
A blowtorch is used in an almost identical way to the heat gun, but instead of using different nozzle attachments to control the size and shape, you simply adjust the size of the flame.
We find that using a blow torch does not give you the same level of control as a heat gun. It should also be noted that you must take further precautions when operating it as it is an open flame.
Problems with both
Although removing paint from wood via a heat gun or blow torch may seem like a great option, they do have their down sides.
It is very easy to damage surrounding areas such as the carpets, walls etc. if 100% focus and care is not maintained.
Even after using a heating method to remove the paint, the surface will not be left in a position to be finished. The surface will still require sanding after.
If you are unable to work outside and you do not have adequate ventilation, the fumes have potential to make you feel lightheaded and even nauseous.
These tools are designed to get extremely hot extremely fast. One wrong move and you can easily be starting a fire.
One of the most common problems with using a heating device is that it is very easy to scorch the wood. This isn’t necessarily a problem if you plan on re-painting the wood with an opaque finish, but if you plan to use an oil finish to bring out the natural beauty of the wood, you will be able to see the burn through it.
Tools & Protection
With all things considered, if you think using a a heated device sounds like the best option for you, then here is what you will need.
Heat gun
Although there are many different brand of heat gun on the market, they pretty much all do the same thing. The most common is a single setting, however, it may be beneficial to you to opt for one that has 2 settings. That way you have the most control over the gun as possible
Blowtorch
Just as with the heat gun, there are many brands of blowtorch on the market. They are fairly affordable and each come with an adjustable knob which control the size of the flame.
Scrapers
Depending on what it is you are removing paint from, having a variety of size and shape scrapers might be beneficial. For instance, if you are working on a door frame that has lots of small or thin surfaces, having a few different types of scrapers might help remove the paint easier.
Protective eyewear, mask & coveralls
These are some serious tools for professionals and DIY-ers alike. We highly recommend protecting yourself with as many things as possible to keep you and others safe.
Proper ventilation
If you cannot work outside, then having good ventilation is a must! Make sure to open as many doors and windows as you can to help assist the air to circulate away from you. Having the potential to get light headed and dropping a blow torch is definitely something you will want to avoid!
Lead paint test
Before you begin any type of paint removal, we recommend conducting a lead paint test if there is a chance that the paint is from 1960 or earlier.
Chemical Paint Strippers
Using chemicals to strip paint from wood is probably the most popular. Likely due to the fact that they are very easy to use pretty affordable.
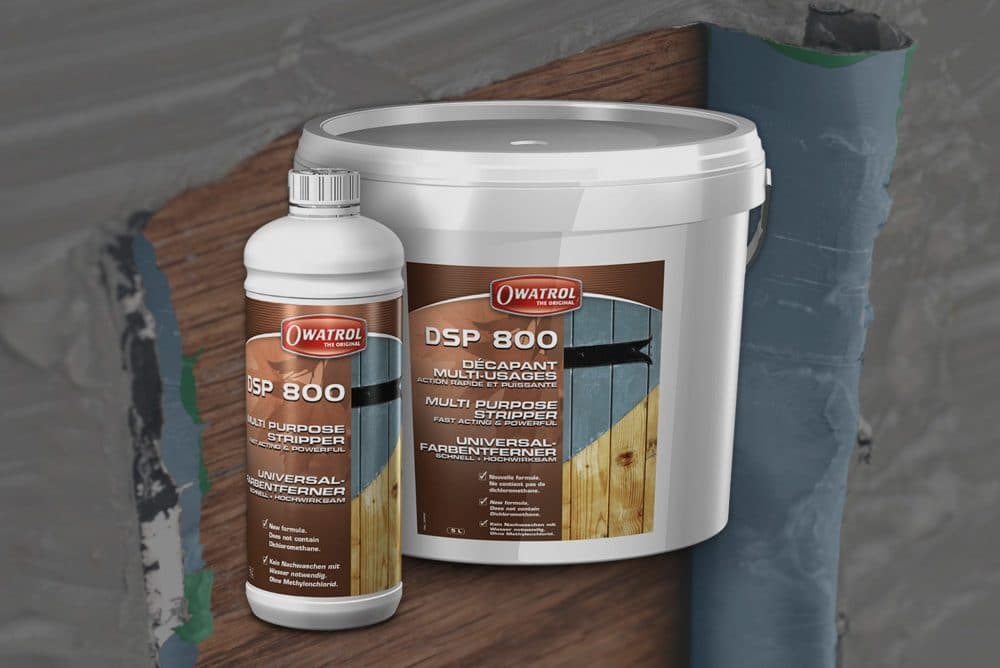
You will find that there is a wide variety of paint strippers on the market, so be sure to research and get one that is specifically for paint removal rather than a varnish or stain etc. Also be sure to get one that is capable of removing multiple layers if needed.
We supply one such product named DSP 800. It is a powerful stripper that is capable of removing alkyd, acrylic, PU, Epoxy, Cellulose, RSE (semi-thick coating), RPE (thick plastic coating) and more. It can even remove 2-Pack paints and powder coatings without damaging the substrate.
We also supply a product named Dilunett which is a solvent-free paint remover strong enough to remove up to 8 coats in one application.
We recommend you do some through research and get a product that is perfect for your needs. You can find products that will remove 1-2 coats and even some that will remove 10+ coats!
Tools and protection
Dichloromethane (methylene chloride) free
We highly recommend using a dichloromethane/methylene chloride free paint stripper. Although this chemical makes light work of paint removal, it is also very volatile and hazardous to health – even in small levels of exposure.
Scraper and other tools
Whilst some brands will require different tools, you will usually need a scraper (multiple sizes and or shapes if necessary), a bucket full of water, a scrubbing brush and if you have one available, a pressure washer.
Protective eyewear, gloves, mask & coveralls
The level of personal protection you will need is dependant on the type of chemical you are using. As a general rule though, you will likely need gloves at the very least.
Proper ventilation
If you cannot work outside then good ventilation is a must! You can quickly and easily become sick from inhaling some types of paint removing chemicals.
Lead paint test
Just like any other way to remove paint, we recommend you test for lead paint. Results are quick and easy and they are very affordable and easy to obtain.
We hope you found this post helpful. If you have any paint removal tips or advice, please feel free to leave them in the comments below.
To keep up to date with our latest posts, why not follow us on social media? You can find us on Facebook and Instagram @owatrolIreland or at the hashtag #owatrolIreland
About Owatrol Team
Our team are ready and willing to support you with your requirements whether it is protecting your newly laid deck or renovating a luxury yacht, whatever the application Owatrol has the solution you are looking for.